DIY Custom Eye Patches
14th Mar 2022
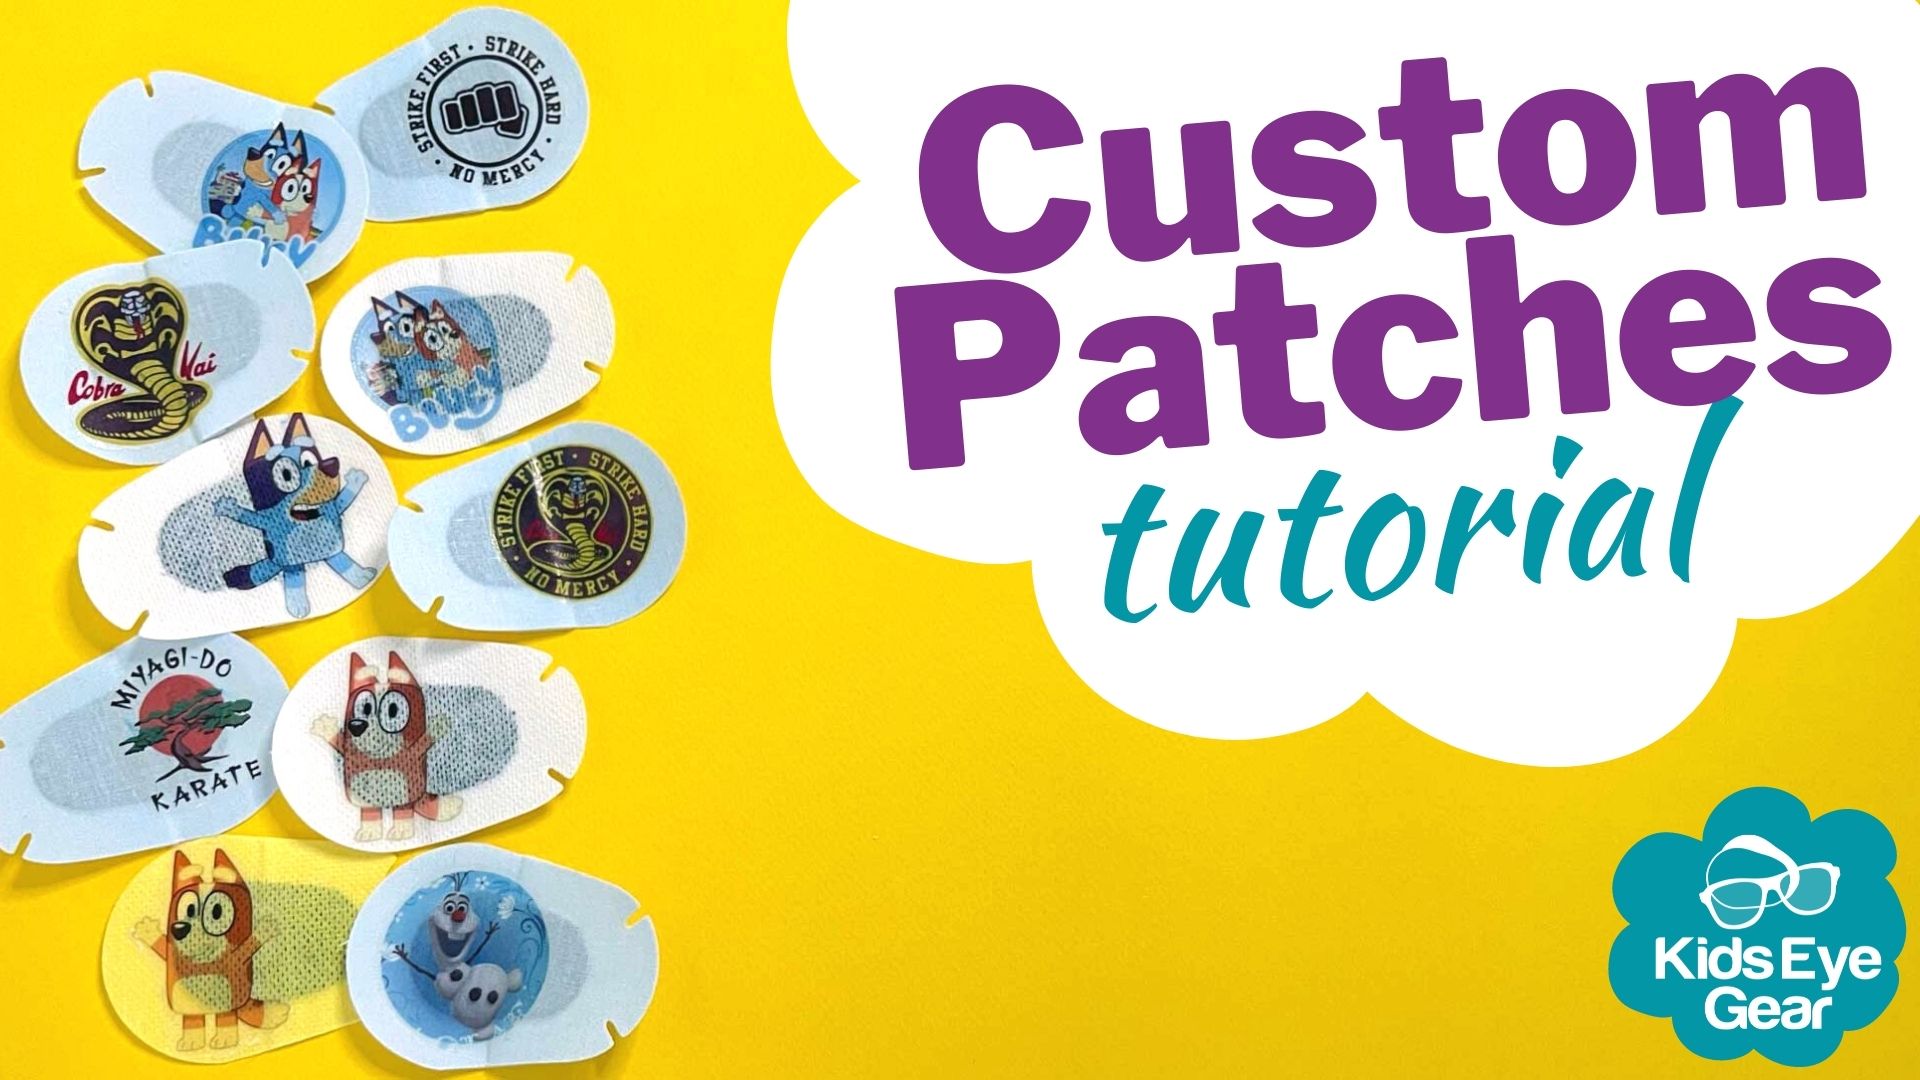
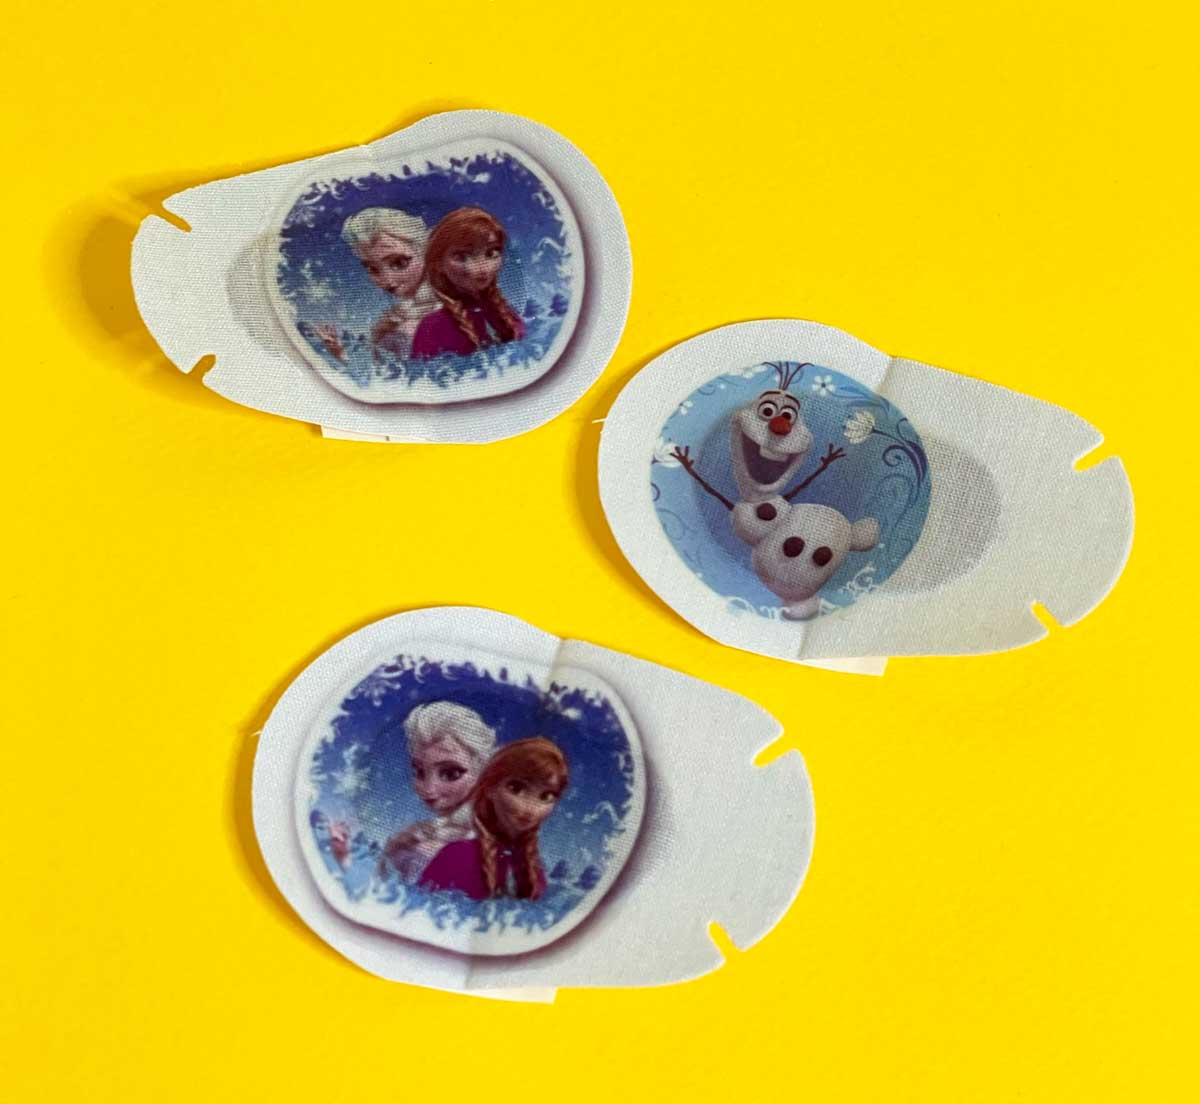
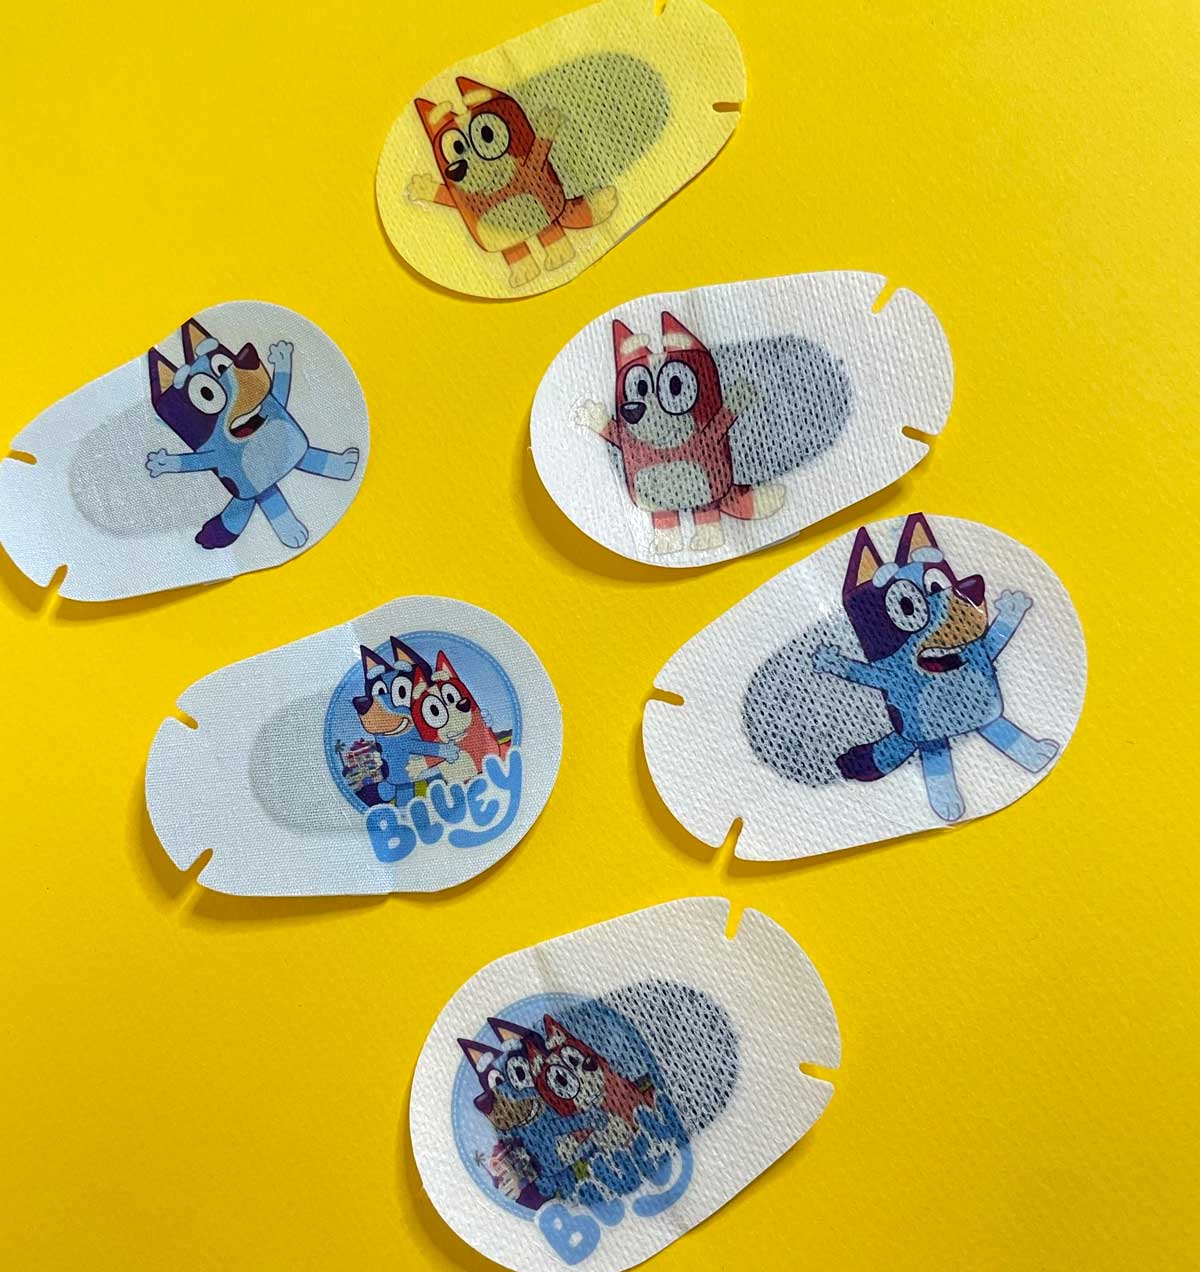
Bluey, Frozen, CocoMelon, Cobra Kai - no matter what TV show your patcher is into, you can now make custom eye patches quickly and easily.
We often get asked by parents if we'll ever make adhesive patches (or fabric patches for that matter) with licensed characters on them. The answer is unlikely. What most people don't realise is that to use images from famous television show, you have to pay licensing fees to the company that owns the rights to that character. And it is NOT cheap!
So instead, we've put together this handy tutorial so you can make your very own customised patches with whatever character your kid is into. Or maybe you want to use a sporting team logo. Or their favourite toy. Or even their name!
The beauty is, our plain coloured patches work perfectly with not only our specially designed transfers, but also temporary tattoos as well. So you can use temporary tattoos that already exist OR you can print your own!
Here's how we did it.
WHAT YOU'LL NEED
- temporary tattoo printing paper
- adhesive eye patches (our cotton blend ones work best, but the coloured ones are great too)
- computer with program like Powerpoint or Word
- inkjet or laser printer
- clean cloth (we used a Chux superwipe)
- a bit of water
STEP ONE
The first step is getting your hands on the temporary tattoo printing paper. We found ours on eBay - there are a number of sellers so just find the one that suits your needs best. It is advised to use one that has FDA approval on the adhesives, just to make it safer for your little one.
STEP TWO
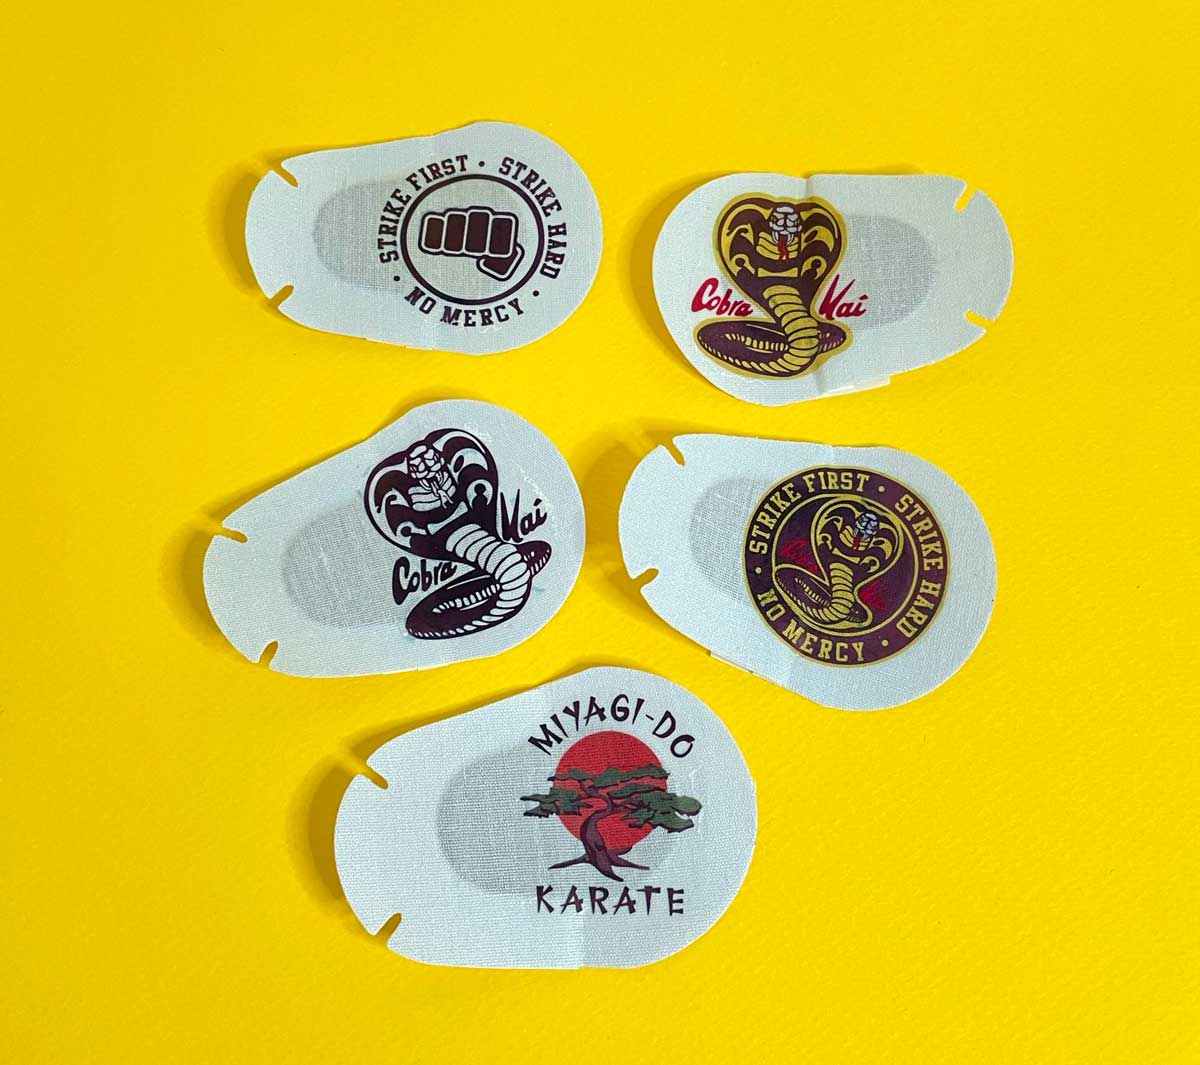
Once you've got your paper, it's time for the fun stuff - finding the images you want to use. Just search the internet for pictures that your little patcher will like. For really top quality images, you can also purchase some from Etsy. For instance, the Cobra Kai images we used were purchased there. Then copy and paste them into your Powerpoint or Word document. Make sure that the images are no bigger than 5cm x 5cm. You'll want to fill up the whole page so you can print them all at once.
STEP THREE
Following the instructions on the temporary tattoo paper you purchased, print out your images and once dry, apply the adhesive layer. I found this the trickiest bit but nailed it by the third go - so think about buying extra paper just in case.
STEP FOUR
Cut around your tattoo, remove the clear layer, and lay the tattoo on your eye patch (make sure you've got it the right way to cover the correct eye). Using a lightly damp cloth, press down on the tattoo until the image is more visible. It's really important that you don't use too much water because otherwise you'll make the adhesive start to break down on the patch - and then it won't stick to your child's face! Remove the backing paper - and you're DONE!
Making custom patches like this can be a fantastic way to get reluctant patchers to participate in their treatment. The possibilities are endless!!
If you make some patches, we'd love you to share them with us on our socials! And if you want to see a video of how we did it, head to our Instagram Reels.