
Tips for Applying Adhesive Patches
22nd Nov 2022
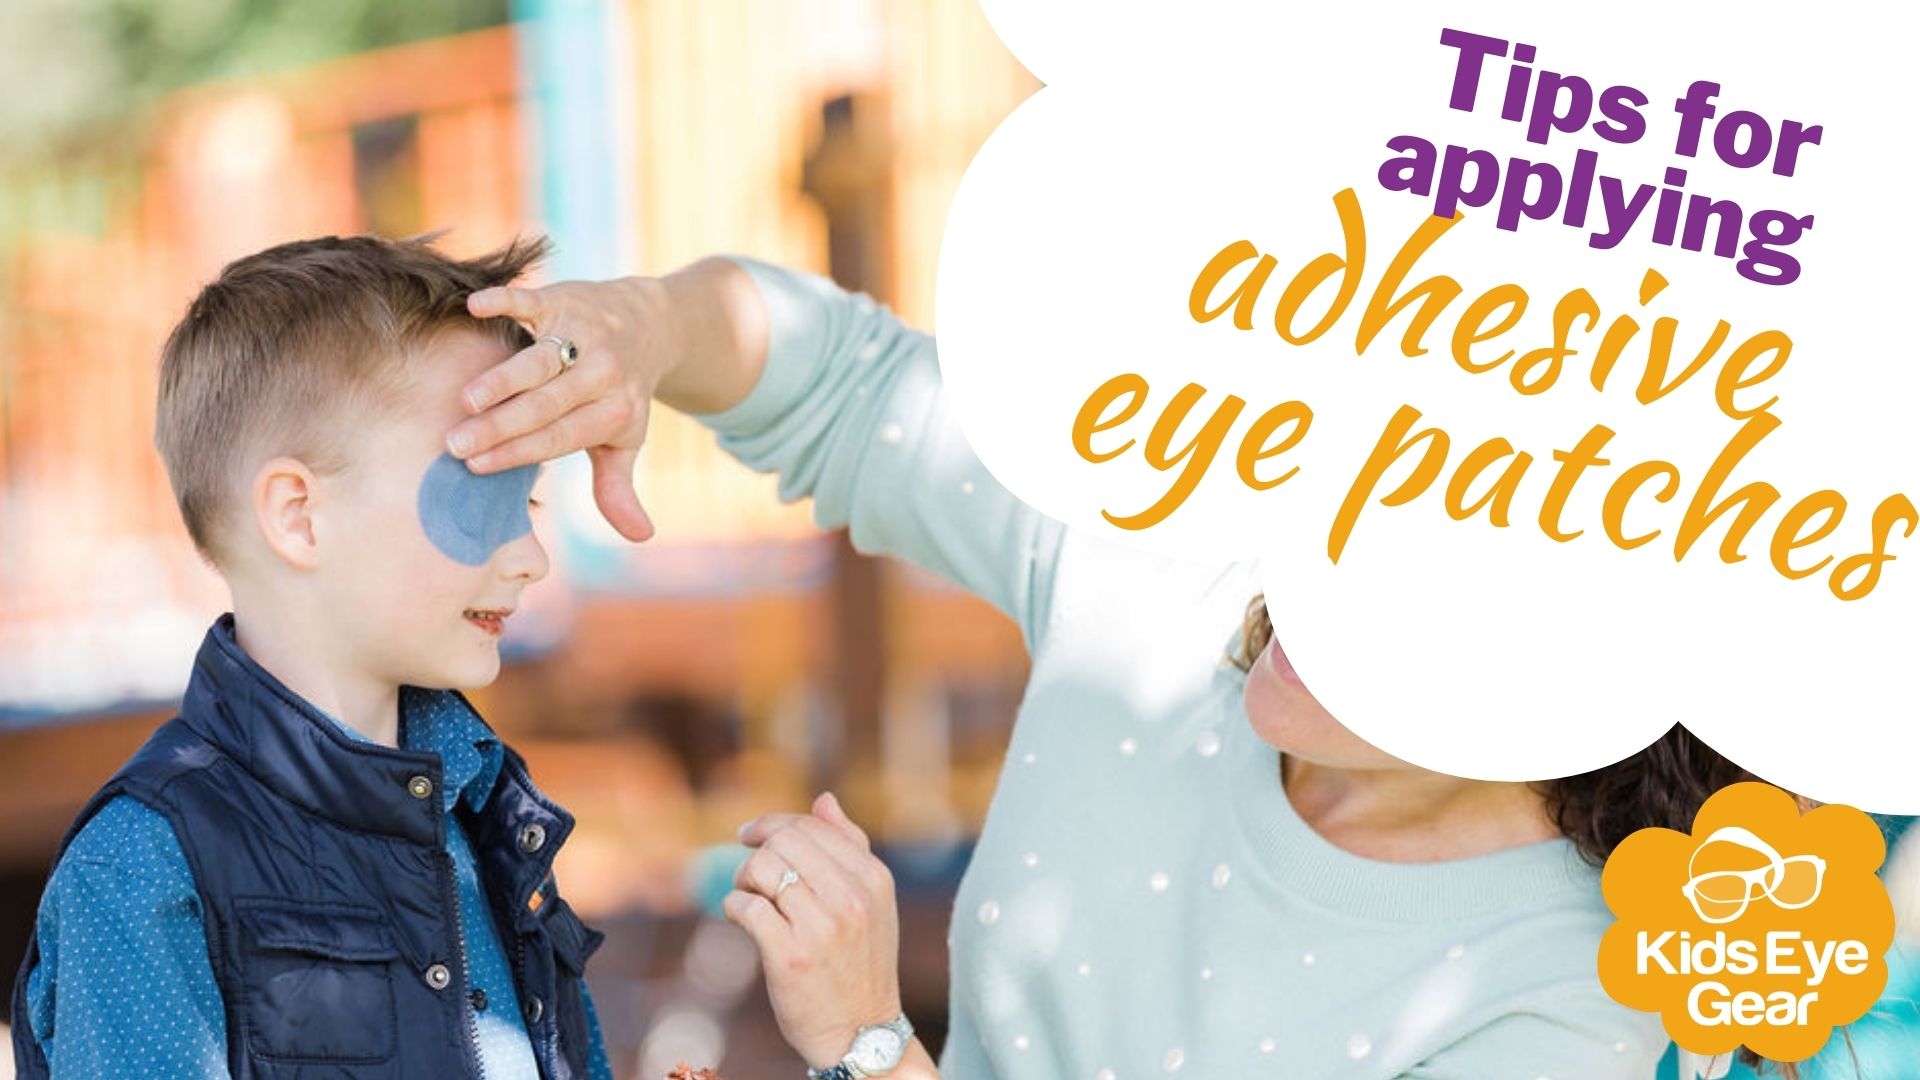
There’s no nice way to say it but patching is just not that much fun. If you’ve ever tried a patch on you’ll know that they can be annoying and disruptive to your vision. Obviously that’s the point when children are prescribed occlusion therapy (patching) but it can be a real struggle.
Finding the right patch for your child can be a daunting enough task but once you find one, you need to work out the best way to make them comfortable for your child. If you’ve chosen to use adhesive patches, it’s important to know that your child’s skin is going to take some time to get used to patching. Their skin is much more sensitive than an adult’s so it’s not unusual for some irritation to occur – redness and spots are pretty normal. If your child’s skin breaks out in a significant rash though, you need to stop patching immediately and ensure they are not allergic to any of the ingredients in the patch you’re using.
After trying all sorts of adhesive patches before we found the perfect patch for us, here are my top tips for applying adhesive patches to help you find what works for you.
The best place to start
Everyone’s skin is different so an identical patch might be too sticky for one child but not sticky enough for another. It’s about finding the right patch for your child so you can get through your patching journey and do the best to achieve great vision for your child. A hypoallergenic, latex-free patch is a good place to start. If they’re not sticky enough, move up to a patch with a stronger and more aggressive adhesive.

Just like us grownups, every child's skin is different. Interestingly, different weather conditions can also affect the stickiness of a patch. We often found Dane’s skin would get more irritated in the drier air during winter. If you find the patches too sticky for your child, here's what you can do.
 1. Pre-Stick
If your child has really sensitive skin, or they’re just a baby or toddler, it can be handy to pre-stick your patches. Simply stick them to your own skin or clothes, pull them off and then apply to your child’s face. This helps break down the adhesive so they’re not as sticky.
2. Apply a Barrier
This is another good one if your child has sensitive skin. There are a number of barriers you can try. First up, what worked best for us was Smith + Nephew Skin Prep wipes. These cost a packet but we would manage to get 3-4 days out of one wipe if we sealed it up each time we used it. Just wipe it around where the adhesive is going to go, allow to dry for a minute or two and then apply the patch.
Some other barriers I’ve heard people try are milk of magnesia, Sudocrem and Cetaphil. Milk of magnesia is not available in Australia easily anymore as it was banned for sale due to being classified as an additive (so Google tells me) – but if you’re keen to get your hands on some, it appears that a few compounding chemists can whip you up a batch. Sudocrem is what many of us parents use or used for nappy rash, so you’re probably pretty familiar with it. This one is also great post-patching if there is irritation. Whenever Dane’s skin got particularly bad, we would put this on at night before he went to bed and in the morning it was all recovered. Cetaphil was actually recommended by our GP many years ago and we still use it as a moisturiser to this day. You will need to use this VERY sparingly though, as too much will make the adhesive break down almost immediately.
Just remember that some barrier creams will break down Kids Eye Gear adhesive patch adhesives super quickly. It’s about finding that perfect balance of stickiness for your kid.
If the skin is irritated from yesterday’s patching, using a barrier is well worth it.
3. Trim Away
The sticky part is usually the bit that can cause irritation so in some cases less is best. If you can get away with it, trim away some of the adhesive part of the patch so that less of the adhesive is coming in contact with the skin. Obviously this won’t completely eliminate the problem but it may help.

1. Clean ‘em up
Let’s be real here for a moment – kids can get grotty. Food, dirt, sweat – you name it, they’ll find a way to get it on their faces. Before you apply an adhesive patch you need to ensure your child’s face is clean. But the trick here is that some soaps can leave a residue on the skin which will break down the adhesive quick smart. So use clean water and a washer to wipe the skin down. Baby wipes might seem like a great idea but they actually leave a residue that breaks down the adhesive. Microfibre cloths like the ones you get from Enjo are a great option.
2. Keep ‘em cool
Particularly humid weather can make the patches less sticky - particularly because the child is more likely to perspire, therefore causing the adhesive to break down. It's obviously pretty hard to control the weather so try to make sure your child's skin is clean, with no soaps or moisturisers, and try to patch when the child is not doing physical activity (and therefore sweating). Patching whilst in air-conditioning in summer is a great option.
3. Stick properly
When you're applying the patch, ensure that you run your finger around the edge of the patch on the adhesive a few times as this will activate it and ensure it sticks nicely to the skin. If you just plonk it on the child’s face this isn’t going to work.
Our goal with our Kids Eye Gear adhesive patches was to design a patch that caused the least amount of irritation for kids’ skin. As I’ve said, everyone’s skin is different so they might not work for everyone – finding that perfect balance of stickiness is no easy feat! Hopefully these tips will help you find the perfect stickiness for your child.